The Most Effective Way to Draw An Animated Moon
The Most Effective Way to Draw An Animated Moon. The moon is one of the predominant aspects of our night sky, and it is always an incredible sight. In this sense, it has often been featured in various fine arts, exhibiting its excellence.
Also, check our cool drawings.
Step by step Guide For Drawing The Animated Moon
Step 1
We will be spinning the ball as soon as we start this moon animation drawing.
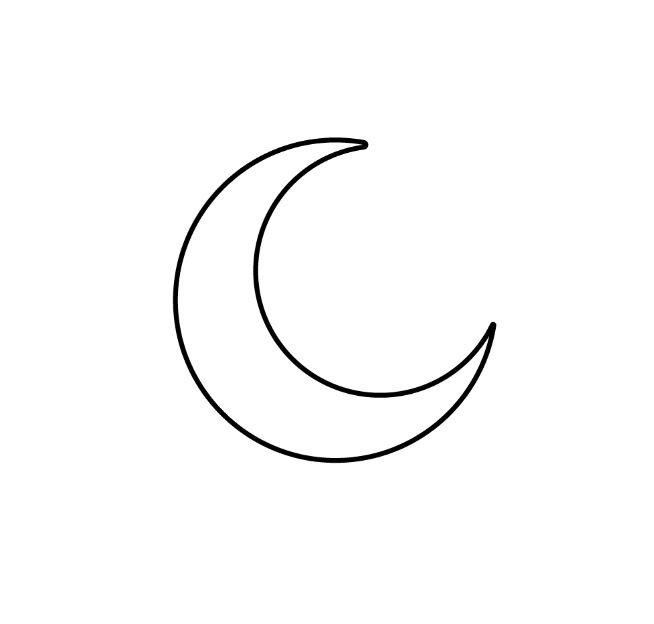
Due to its position concerning the earth, the moon takes on different optical appearances, which we present in this instrument in its crescent structure.
First, this moon will have a good facial plan, and we will start this face with the nose. The nose is drawn with a straight, snug line pointing to the left side.
Then we draw the inner edge of the “body” of the moon. It is marked with a curved line and goes behind the nose you recently drew.
With these subtleties drawn, we can move on to the second step of the helper!
Step 2
In this second step of our guide to the most effective way to draw an animated moon, we will remove the right side of the moon’s body.
We’ll draw another giant curved line that starts and ends where the two curved lines you drew for the interior piece begin and end.
As shown in our reference image, it creates an arc shape with two sharp points.
That’s all you want to achieve for this advancement, after which we can move on to the third part of the helper!
Step 3
These consist of two oval shapes, each with a more modest internal oval shape. So, at this point, the inner oval shapes each have a huge dark spot on the inside.
Then let’s add another curved line to the right below the eye, acting as a cheek.
Finally, you can round the face by drawing two huge curved brows over the eyes. These will finish the joint well, and then you will be ready for Step 4!
Step 4
We will polish the intricacies of your animated moon face by attracting this next stage! For this part, we will draw the smiling mouth of the moon.
First, extend a slightly curved line downward from the base of the nose, then open it into a curved smile.
The tip of the lunar lip will also be a bit sharp. The mouth will be open, and we will also define custom borders inside for the tongue.
Polish under the base lip with another simple curved line, after which you’re ready for some finishing touches and components in the next stage of the tool.
Step 5
Before we rejuvenate this moon in the final advancement of this guide to the best method to draw an animated moon for some notable species, we will first add some finishing touches to complete it well.
Once you’ve added these subtleties, feel free to add some thoughts on the extra details!
For our plan, we have added some small oval shapes to the outer layer of the moon. Each has a straight edge to make them appear as openings on the surface.
Each will also have a few small lines surrounding them for added depth.
Once you’ve added these, you should add extra touches! You might pursue so many fun thoughts, from attracting the stars for the foundation to adding some outer spaceships.
What else could you think of to finish off this adorable design?
Step 6
It is the final progression of this tutorial, and in it, we will complete specific strains! Our reference image shows you several varieties that you could use to polish the moon.
We used different shades of yellow for the moon’s outer layer to give it a beautiful look.
Using duller shades for specific regions can achieve a covered look that makes the moon appear a little more unique.
Do you think you will try to imitate what we did in our model, or do you have several variations that you would like to use?
You can also have fun evaluating different media and computing devices, so let your imagination run wild and see what happens!
Drawing Completed
Also read: How to start a new business?